|
:: Abstract Wrinkle ::
Create a new image any size you want with RGB mode. Select the Gradient Tool and use black and white as foreground and background colors. Be sure to change the Gradient Tool's mode to Difference. Then start creating gradients like crazy until you have something like this... 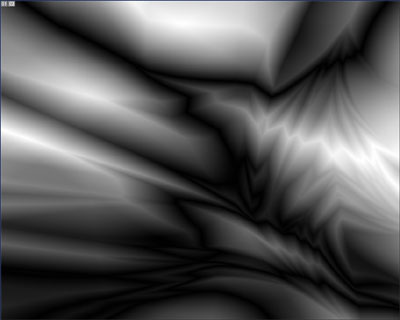
Now go Filter>Stylize>Find Edges. Use Gaussian Blur with a radius of 1-3 pixels. Now Image>Adjustments>Brightness/Contrast and set the contrast to about +25. This will make the image more visible. Now set the layer's Blend Mode to Multiply. You're done! 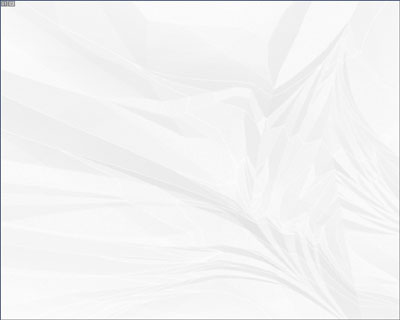
This is what I got when I Equalized the layer and used a darkred background. To get a quite nice grunge effect you can use Threshold or set the layer's contrast to max. 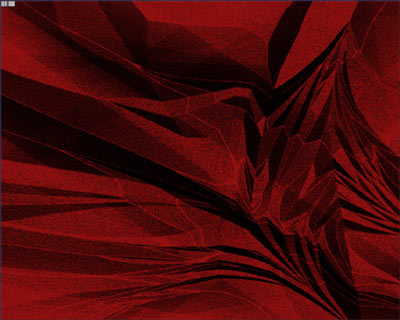
This is what I got when combining it with a Radial Blured and a Motion Blured layer. If you want the wrinkle to be more visible you can duplicate it. Hope this tutorial was helpful! ^__^ 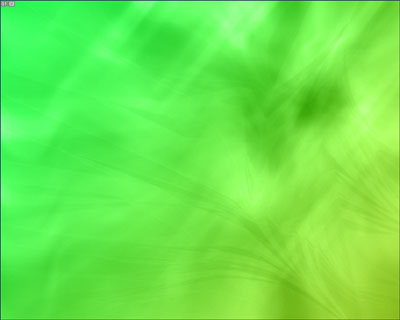
|